

How to Tie a Scarf on a Purse Handle: 8 Ways to Style a Bag
Learn how to style a bag with a scarf in 8 easy ways, from the classic twilly handle wrap to trailing bows on straw bags. Steps, sizing, and anti-slip fixes.


To wrap a scarf around a purse handle, fold or roll it into a narrow strip, knot one end at the base of the handle, wind it around in snug diagonal turns until the handle is covered, then tie the other end at the far base with a small knot or bow. Any narrow scarf works, or try one of our purse scarf handle covers, such as the Mint Riviera set or the Emerald Equestrian set.
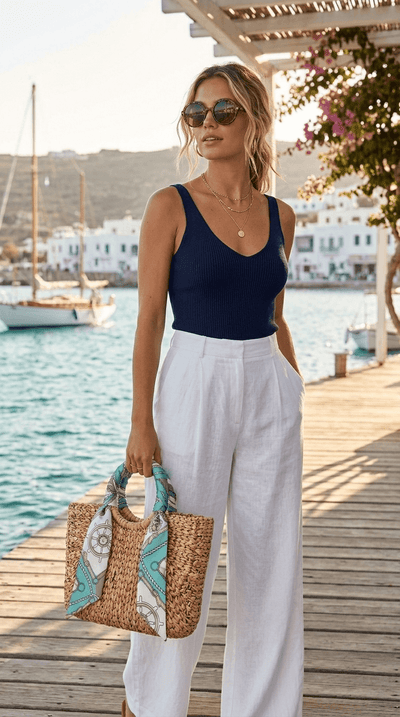
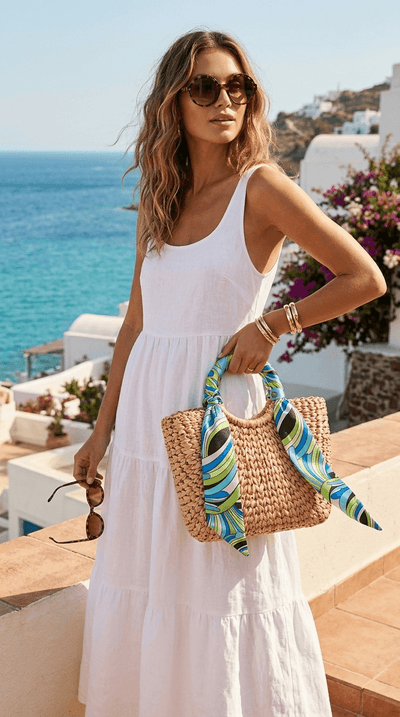
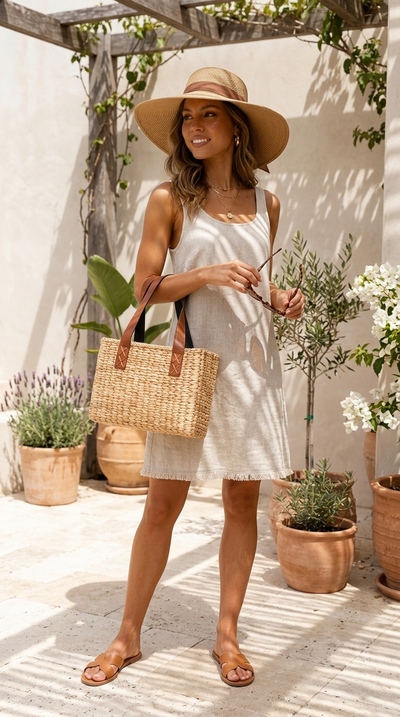
If you just want to accessorise a bag with a scarf, there are three basic moves: wrap the handle, tie a bow, or let the scarf hang from one side. Pick the scarf first, then one of the eight ties below.
Which scarf to use
Three kinds work well (sizes are approximate):
- Narrow scarf: often sold as a twilly, about 5 cm wide and 80 to 100 cm long. It needs no folding.
- Small square or bandana: about 50 to 55 cm across. Fold it corner to corner, then roll it from the long edge into a strip.
- Large square: fold it lengthwise into a strip first. It suits bows and trailing looks more than tight wraps.
Before you knot anything, wind the scarf loosely round the handle to check the length. Each turn uses up length, so the scarf needs to be several times longer than the handle. If it runs out, fold it with fewer layers so each turn covers more of the handle, or choose the bow or the side hang, which need less fabric.
Fabric matters too. A matt fabric such as cotton or a twill weave tends to hold a knot well, while a very glossy, slippery fabric can slide more.
1. The Classic Twilly Handle Wrap (Beginner Steps)
Learn this base-to-base wrap first, because several of the other methods build on it.
- Knot one end of the scarf around the handle at its base, where it meets the bag.
- Wrap the scarf snugly around the handle, working towards the far end.
- Overlap the fabric slightly at each turn so no handle shows through.
- At the other base, tie the remaining end around the handle with a matching knot.
- Tuck the tail under the last turn, or leave a short tail for a softer finish.
Watch the tension. Keep it firm and even, but not so tight that the fabric bunches. A full wrap covers the part of the handle your hand holds.
2. The Loop-and-Pull-Through Knot for Full Coverage
This one starts from the middle of the handle and works outwards, so both halves are wrapped the same way.
- Fold the scarf in half end to end to find its midpoint.
- Hold that midpoint against the middle of the handle.
- Wind one half of the scarf towards one base, wrapping over the top of the handle.
- Tie a knot at that base to lock it in place.
- Wind the other half to the other base in the same direction and knot it there.
It suits long or thick handles, because you wind two short halves instead of one long pass. Keep the tension even on both halves, or one side ends up lumpier than the other.

3. The Criss-Cross Centre Drape
Instead of a smooth spiral, this method drapes from the top of the handle and loops down both sides, so the crossings show as texture.
- Drape the centre of the scarf over the top centre of the handle.
- Wrap the right half around the handle, working down towards the right base.
- At the base, loop the end around the handle and pull it through the loop to secure it.
- Repeat the same wrap, loop and pull on the left side.
- Fluff the ends and even out both knots so they match.
Use it when the plain wrap feels too simple but a braid seems like too much work. A slightly longer scarf makes both ends easier to reach.
4. The Bow Finish for a Soft, Feminine Accent
You do not have to cover the whole handle. A short anchoring wrap and a bow are enough.
- Near one end of the handle, wrap the middle of the scarf around it once or twice to anchor it.
- Cross the two ends over each other at the front.
- Tie them into a bow.
- Adjust the loop size and tail length until the proportions look right.
Keep the bow small and neat for work, or looser and bigger for weekends. Off centre, it looks less like gift wrap and leaves room for a bag charm beside it.
5. The Braided Handle Wrap
Here the handle itself becomes the third strand of a plait.
- Tie the scarf's midpoint to the base of the handle, leaving two loose tails.
- Treat the two tails and the handle as three strands.
- Cross one tail over the handle.
- Cross the other tail over the first.
- Keep alternating the crosses down the full length.
- At the far base, knot the tails around the handle and tuck the ends away.
It takes the longest of the eight, and it needs a longer scarf so the plait reaches the far end. Keep the crosses snug and even so the braid holds its shape.
6. The Big Trailing Bow for Straw and Woven Bags
Straw, rattan and woven bags often come in natural, neutral shades, so a scarf adds colour without adding much weight.
- Take a long narrow scarf, or a large square folded loosely lengthwise so it keeps some width.
- Tie a simple knot at the base of the handle, leaving both ends long.
- Tie the two ends into a large bow.
- Leave the tails long so they trail against the weave.
- Puff the loops so they stand out from the handle rather than lie flat.
On an open weave, you can also thread the scarf through the straw itself, or tie it to one side of the bag.
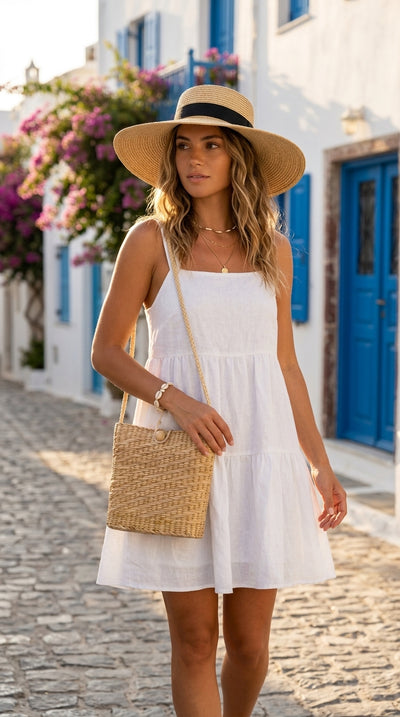
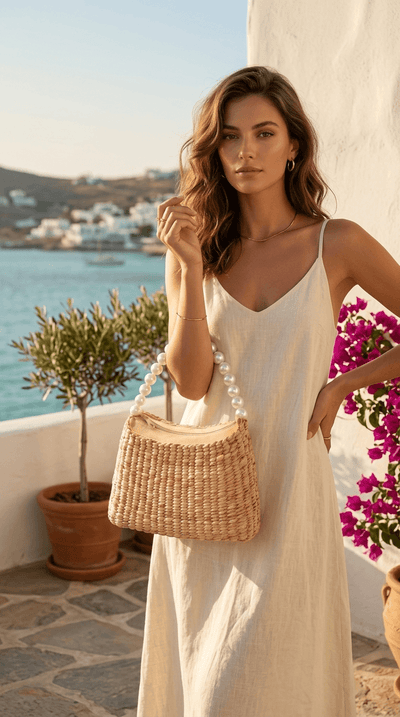
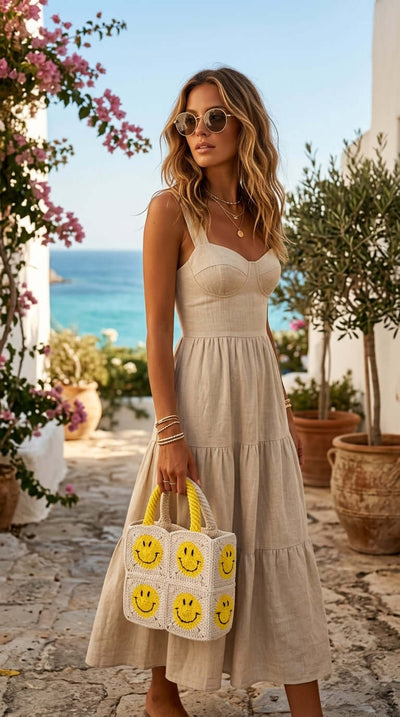
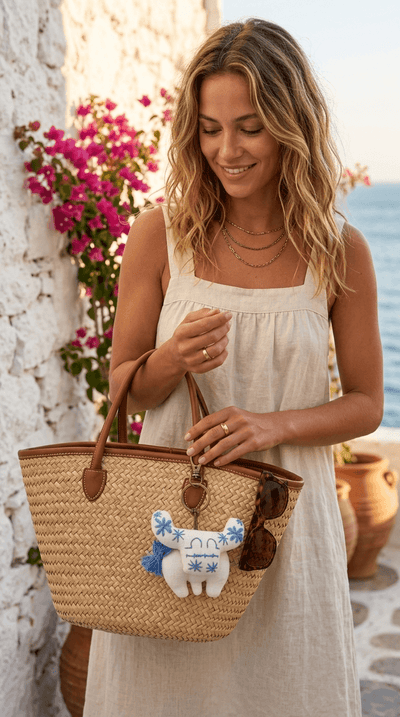
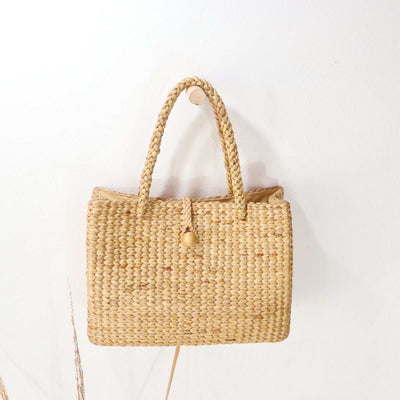
Our straw bags and crochet bags are handmade in Thailand, and a scarf changes their look quickly. The Ocean Breeze set, a pair of handle covers in a blue, turquoise and green wave print, sits well against natural fibre. For more on the bags, see our guides on how to style a straw bag and the different types of straw bags.

7. The Casual Side Hang
This is the quickest method: one knot and you are done.
- Tie the scarf to the handle with a double knot at its base, at one end only.
- Let most of the scarf hang freely down that same side.
- Adjust the split, from an even drop to one tail much longer than the other.
- Leave the ends loose for a relaxed finish.
Everything hangs from that one knot, so keep it at the base, not halfway up, where it has more room to slide.
8. The Diagonal Anti-Slip Wrap
If a scarf keeps turning on a smooth handle, change the angle. A diagonal wrap tends to grip better than one wound straight across.
- Roll a bandana or scarf into a narrow strip.
- Start at the base of the handle, not the middle, so the knot has less room to slide.
- Wrap diagonally around the handle rather than straight across.
- Finish with a square knot (right over left, then left over right) rather than a single loose loop.
- If it still shifts, add a second knot on top of the first.

Bag Scarf Styling FAQ
What size or type of scarf should I use on a bag handle?
The easiest choice is a narrow scarf, often sold as a twilly, of about 5 cm by 80 to 100 cm, because it wraps without any folding. A small square or bandana of about 50 to 55 cm works once rolled into a strip. Save a large square, folded lengthwise, for bows and trailing looks.
How do I keep the scarf from slipping off a smooth handle?
Wrap on the diagonal rather than straight across, start and knot at the base of the handle instead of the middle, and finish with a square knot. If it still moves, tie a second knot on top. On a smooth handle, a matt scarf tends to hold better than a glossy one.
Will tying a scarf damage my bag or the scarf?
It depends on the bag and the scarf. Keep knots firm but not strained. A dark or bright scarf can mark pale leather when damp, so test it on a hidden spot of the bag first. If the bag gets wet, take the scarf off.
Does this work on straw, rattan, or woven bags, or only leather?
It works on straw, rattan and woven bags as well as leather. Wrap the handle as usual, or on an open weave, thread the scarf through the straw or tie it to one side. A big trailing bow suits a large woven tote, where its size matches the bag.
If this is your first try, start with a plain woven tote and the one-knot side hang, then work up to a full wrap.